Adding a Reference Date
You may need to change a reference date in your project. For example, if you want to change the date of an existing reference date, you must create a new reference date, then delete the redundant reference date.
To add a reference date to the project:
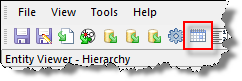
1. Click the Reserves
Settings icon (![]() ) on the main toolbar.
) on the main toolbar.
Or, click the
Tools menu and select Reserves
Settings....
The Reserves Settings dialog box opens.
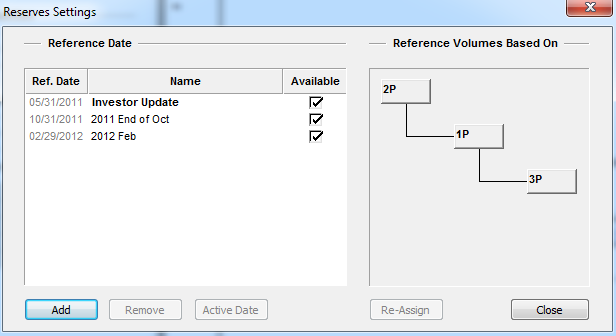
2. Click the Add button.
A warning message opens (e.g., "the action selected may take several minutes to complete").
3. Click OK.
The Add Reference Date dialog box opens.
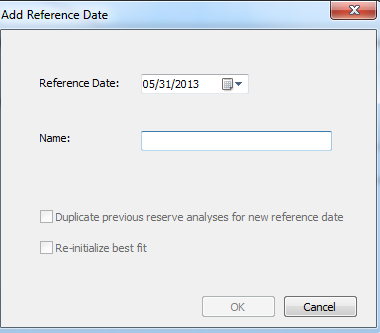
4. Specify a reference date by doing one of the following:
- click the down arrow and select a date from the calendar.
- enter a date using your keyboard.
5. Enter a name (maximum 40 characters). Optionally, you can specify the following options:
- Duplicate previous reserve analyses for new reference date — duplicates analyses from the previous reference date as active analyses with the same reserve classification using the new reference date.
- Re-initialize best fit — retains the analyses from the previous reference date, and performs a best fit on the latest / updated data for all forecasts with a classification.