 To add blank curves to logs
You can add blank digital curves to a well log that can be used to manually digitize portions of raster logs (such as the interval of sands), or can be converted to a specific curve type such as GR, DT, RHOB, and more. You can also update your cross section with additional curves from the IHS Energy Information Hub.
For details on importing curves from LAS files you've saved to disk, see Related Topics below.
To add blank curves to logs
1. From the Cross Sec menu, select Properties (![]() ).
).
The Cross Section/Single Log View Common
Properties: Datum/Space
dialog box appears.
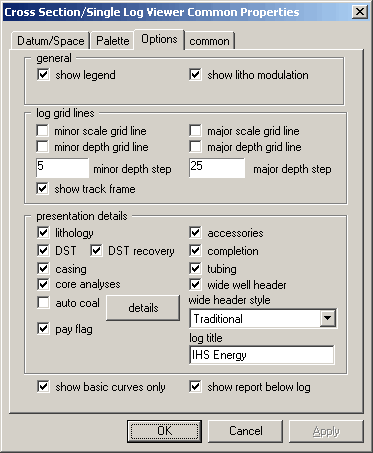
2. Select Options and ensure show basic curves only is cleared then click OK.
3. Right-click the well and from the shortcut menu, select add blank curve then select from numerous curve types such as Blank, GR, DT, RHOB, and more.
A blank curve handle appears in the top of the
appropriate track and well log.

4. In either the top of the track or in the well log, double-click the curve.
The Single Curve Managing
dialog box appears.
![]()
5. Select a mnemonic and display properties and then click OK.
6. Ensure the curve
is selected and then click edit curve
(![]() ) in the Standard toolbar.
) in the Standard toolbar.
 Note:
To cancel redrawing a curve, clear
edit curve.
Note:
To cancel redrawing a curve, clear
edit curve.
|
7. Click to define a series of points along the curve then double-click to define the last point in the series. |
|
8. Click a blank area of the well log to deselect the curve.

To add curves from the hub
![]() Right-click the well and from the shortcut
menu, select add digital curves from
hub.
Right-click the well and from the shortcut
menu, select add digital curves from
hub.
If a user name and password was not previously
typed in the Global
Online Axxses Settings dialog box, the Axxses
Connection Info
dialog box appears.

![]() Type your connection information then
click OK.
Type your connection information then
click OK.