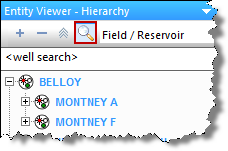
The Entity Viewer - Hierarchy displays the entities in a project, which you can view, sort, and select for analysis.
Clicking an entity in this pane highlights the entity on the GIS map, and displays the entity's data under the other tabbed headings. (Only well and meter station entities are shown on the GIS map, and only if they have valid location information entered in their attributes.)
You can scroll through wells using your keyboard's arrow keys by doing the following: click the tab you want to view (for example, Analysis or Diagnostics), click a well in the Entity Viewer, and then press the Up and Down arrow keys on your keyboard.
You can select multiple entities by clicking wells while holding down the Ctrl key (to make individual selections), or the Shift key (to make group selections).
The Entity Viewer - Hierarchy has the following important icons:
For a description of common icons, see pane toolbars.
The Entity Viewer panes use icons to indicate the work status of entities. The icons and their meanings are as follows:
 (Complete) — an analysis has been completed
for this entity.
(Complete) — an analysis has been completed
for this entity.
 (In Progress) — this entity has been selected,
and an analysis has been started, but it has not yet been completed.
(In Progress) — this entity has been selected,
and an analysis has been started, but it has not yet been completed.
 (Invalid) — data for this entity has changed,
or wells within this group have changed. If an analysis has been run,
it may no longer be valid.
(Invalid) — data for this entity has changed,
or wells within this group have changed. If an analysis has been run,
it may no longer be valid.
You can set your work status manually by right-clicking the entity and selecting Set Entity Work Status. To rest your work status, right-click and select Clear Status.
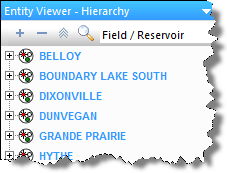
The Hierarchy pane organizes entities in a hierarchical structure according to specific attributes, which you can view in the Attributes tab.
To initially view wells, Harmony provides a default hierarchy structure: Field / Reservoir.
You can select your hierarchy structure from the drop-down list on top of the pane.
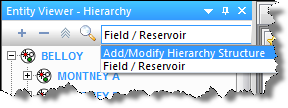
To create a new hierarchy structure, select Add / Modify Hierarchy Structure from the drop-down list.
Right-clicking within this pane lists various options, which depend on the type of entity you select (for example, a well, group, or multiple wells).
IHS Harmony™ 2016b Multi-User | Last revised: October 19, 2016
Copyright © 2016 IHS Inc.